ZONATIMES.COM – How to Check AirDrop History.
AirDrop is a convenient feature on Apple devices that allows you to wirelessly share photos, videos, documents, and more with other nearby Apple users. While it’s a fantastic tool for quick and easy file transfers, you might occasionally need to check your AirDrop history, whether to see recent transfers or troubleshoot any issues. In this article, we’ll explore how to check your AirDrop history on your iPhone, iPad, or Mac.
Understanding AirDrop
Before we delve into the steps to check your AirDrop history, let’s briefly understand how AirDrop works:
- Peer-to-Peer: AirDrop uses Bluetooth and Wi-Fi to create a direct connection between your Apple device and the recipient’s device. This peer-to-peer connection ensures fast and secure file transfers.
- Compatibility: AirDrop is available on various Apple devices, including iPhone, iPad, Mac, and even some iPod Touch models. However, both devices involved in the transfer must be compatible and have AirDrop enabled.
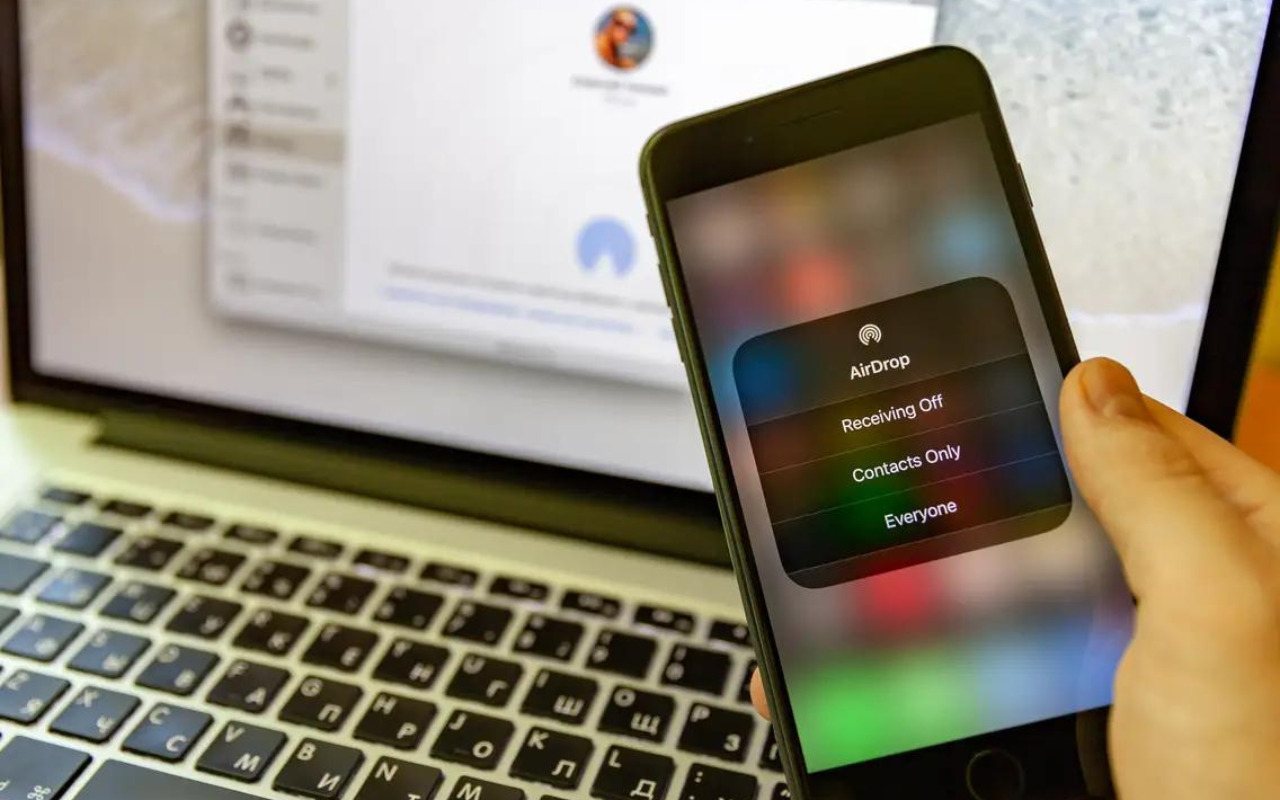
- Visibility: You can adjust the visibility of your device for AirDrop, setting it to “Contacts Only” or “Everyone.” “Contacts Only” restricts AirDrop to your contacts, while “Everyone” allows any nearby Apple user to see your device for AirDrop.
Now, let’s explore how to check your AirDrop history on different Apple devices.
Checking AirDrop History on iPhone and iPad
- Control Center: Swipe down from the top-right corner of your iPhone or iPad to open the Control Center.
- Press and Hold: Press and hold the connectivity section in the top-left corner, which includes icons for Wi-Fi, Bluetooth, and AirDrop.
- AirDrop Menu: This will open an AirDrop menu. At the top of the menu, you’ll see a section labeled “Receiving Off” or “Receiving On.” Tap on it.
- AirDrop History: A new screen will display your AirDrop history, showing the names and photos of nearby devices that have recently attempted to share content with you via AirDrop.
- Review and Accept: You can tap on any item in the list to review the incoming content and choose to accept or decline it.
Checking AirDrop History on Mac
- Finder: Open a Finder window on your Mac.
- Go: Click on “Go” in the menu bar at the top of the screen.
- Go to Folder: Select “Go to Folder” from the dropdown menu.
- Enter Path: In the dialog box that appears, enter the following path:
~/Library/Application Support/Com.apple.AirDrop. - View AirDrop History: This will open a folder containing files with long alphanumeric names. These files represent received AirDrop items. You can view these files to see the AirDrop history on your Mac.
Clearing AirDrop History on iPhone, iPad, and Mac
If you want to clear your AirDrop history to maintain privacy or declutter your history, here’s how you can do it on your devices:
On iPhone and iPad:
- Open the “Settings” app.
- Scroll down and tap on “General.”
- Tap on “AirDrop.”
- Select “Receiving Off” and then turn AirDrop back on.
This action will clear your AirDrop history on your iPhone or iPad.
On Mac:
Clearing AirDrop history on a Mac is a bit more technical and involves deleting files in the ~/Library/Application Support/Com.apple.AirDrop folder. Be cautious when deleting files manually, as it can affect your Mac’s performance if done incorrectly.
Conclusion
Checking your AirDrop history is a useful way to keep track of recent transfers and manage incoming content. Whether you’re looking to review recent transfers or troubleshoot any issues with AirDrop, these steps will help you navigate your AirDrop history on your iPhone, iPad, or Mac. Remember to clear your AirDrop history if you want to maintain privacy or start with a fresh slate. Always ensure that your AirDrop settings are appropriately configured for your preferences and security.

